In short, I already have a killer fatbike, a killer 6 x 6″ trailbike, and a dedicated set of 29+ wheels/tires that I use on my fatbike when the need arises.
Because of where I live and what/where/how I like to ride, that 2 bike arrangement has taken care of 90% of my riding needs for years.
If I’m going to add a bike to the quiver, it needs to do something unique, or at least something much, much better than the other two. Something more than that errant 10% that seems to be lacking.
I tried 650b FS and almost immediately had to ask myself: Why, Mike, would you want a bike that falls into 28″ holes? In short, I couldn’t find a benefit to it compared to standard 29″.
Then I tried B+ FS, and immediately asked myself: Why would I want a bike that falls into 28.5″ holes *and* feels as slow as a fatbike on hardpack? For where I live and ride, B+ almost seemed like the worst of all possible worlds.
I’ve tried various 29″ XC bikes (~120mm trailbikes) and once the get-to-know-you period ends I end up not riding them much and then selling them shortly after. The reason usually involves them having a lot of overlap with my all-time-favorite LunchBox, and not being enough lighter/faster/more efficient to warrant keeping a whole extra bike around. So, largely, they collect dust. I simply do not, cannot horde bikes, so if it hasn’t been ridden in a ~month I sell it. Period.
-could be set with 100, 110, or 125mm of rear travel,
-could be matched with a fork that had anywhere from 110 to 150mm of travel,
-had clearance for 3″ tires on 50mm rims,
-had modern/sporty geometry: short chainstays, low-ish bottom bracket, slack head angle.
-had modern conveniences like stealth routing for a dropper and internal routing for the 11-speed rear der.
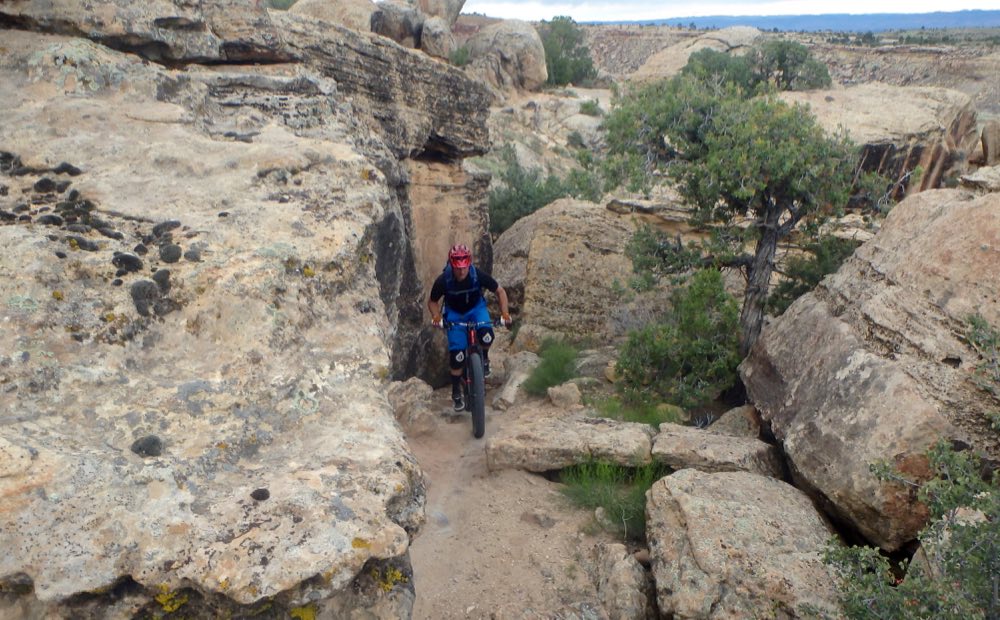
It took very few rides for me to realize that a 150mm travel fork with a 125mm travel rear was too much suspension for these high volume/low pressure meats. The traction was outstanding and the bump absorption incredible, but the bike entirely lacked proprioception. All that air volume combined with all that suspension was keeping me from feeling the trail, sensing the obstacles, knowing where the traction was and wasn’t. The bike was point and shoot in the most literal sense, requiring very little input from the rider to clean extremely technical trails.
Some of you reading this right now are saying “Awesome! Sign me up!” and yes–you can build yours exactly like this if you like.
For me, it felt like a giant eraser, largely removing the challenge from most trails without giving back a sense of reward or accomplishment at having learned or improved my skills in any way. There is clearly a fine line here somewhere, where too much technological aid is undesirable, and too little is not enough. Each of us gets to decide where that line sits.
For me, this setup was a bridge too far.
So I swapped forks to get 120mm up front. Changed levers and damper out back to drop to 110mm of travel. Kept everything else on the bike the same, including tire pressures. Rode some more.
I liked this configuration. A lot. I felt more connected to the ground, more able to sense where the tires were and what they were doing, to the point where I was able to fine-tune my preferred pressures to .25 of a psi. I used an analog gauge to find those pressures, but got to where I could easily and immediately sense a 1psi change in either direction. Neat.
The 120/110mm arrangement brought much of the challenge back to riding–I simply couldn’t rely on the bike to do the heavy lifting, had to show up and provide body english, timing, and skill.
After ~10 days I swapped things around again, to arrive at 110mm up front and 100mm out back. I have loved this setup, and consequently have spent the most time on it set this way.
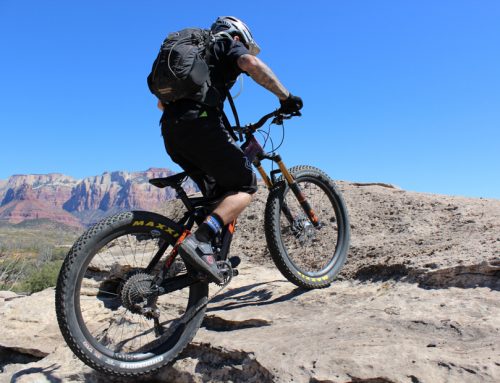
It gives me all the confidence and control of 29+ shoes in a light, nimble, sporty, lively chassis. I don’t often stand to aggressively power up climbs on *any* bike these days, (largely because I don”t have much power!) but I find myself doing it several times per ride on this setup. And on the descents, where with the longer travel iterations I felt glued to the ground for better or worse, on this setup I can hop and pop and be playful, lofting the bike at will whether to clear obstacles or simply place it into a different line.
In short, it rides *light* but still gives you the velvet steamroller effect when the tires are in contact with earth.
The bike feels like a pure-XC speed demon when shod this way. My subjective take is that what you gain in speed you lose equally in traction/comfort/control. It is essentially like most other 29″ FS bikes at this point, so no reason to belabor the explanation except to say that this is one of the few (only?) 29″ FS bikes that can also be 29+ FS.
Got all that?
I’m leaving out many, many, many details but for now this is a good start at catching up.